
Basting is a simple yet essential technique that can transform your cooking. I love how adding a flavorful liquid or melted butter to your dishes keeps them moist and enhances their taste.
Whether you’re roasting a turkey for the holidays or grilling a steak on the weekend, knowing how to baste effectively can make all the difference. Let me share some tips and tricks to help you master basting and take your meals to the next level.
What Is Basting
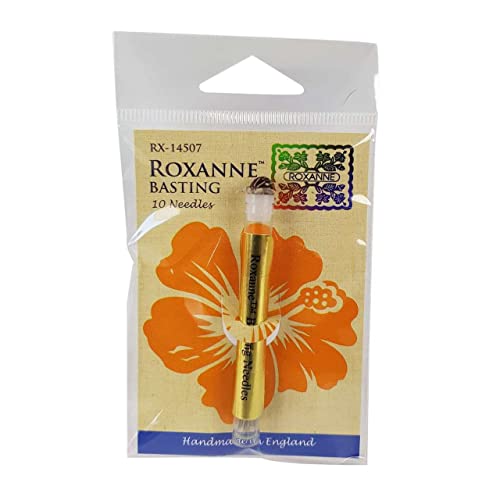
Basting involves using temporary stitches to hold fabric layers together before final stitching. I often use basting when aligning patterns or securing fabric pieces during sewing projects. This technique ensures accuracy and prevents shifting, especially when working with multiple layers or intricate designs. Common basting methods include hand basting with a needle and thread, machine basting with a long stitch, and using safety pins or clips for quick fixes. Basting allows me to make adjustments easily before committing to permanent seams, enhancing the overall quality of my crafts.
Benefits Of Basting
Basting offers several advantages in cooking. Here’s how it enhances your dishes:
Enhances Flavor
Applying marinades, sauces, or melted butter during cooking infuses food with rich flavors. Each layer of basting builds complexity, making the final dish more flavorful and appetizing.
Keeps Food Moist
Regular basting helps maintain moisture in your food, preventing it from drying out. This is particularly important for lean meats and poultry, resulting in a juicy and tender outcome.


Types Of Basting
Basting varies between cooking and sewing, each with unique techniques and purposes. Understanding these types enhances both your culinary and crafting skills.
Wet Basting
In cooking, Wet Basting involves applying liquids like marinades, juices, or melted butter to food during the cooking process. This method:
- Enhances Flavor: Liquids infuse dishes with rich, deep flavors.
- Maintains Moisture: Helps keep meats and poultry juicy and tender.
- Supports Even Cooking: Prevents drying out, especially in lean cuts.
Common liquids used for wet basting include:


- Butter: Adds richness and helps in browning.
- Broths: Provide savory depth without overpowering the main flavors.
- Marinades: Combine herbs, spices, and acids to tenderize and flavor.
Dry Basting
In sewing, Dry Basting refers to temporary stitching used to hold fabric layers together before final stitching. This technique ensures accuracy and prevents shifting. Key aspects include:
- Temporary Stitches: Simple knots or long stitches that are easy to remove.
- No Excess Material: Avoids bulk, making adjustments simpler.
- Versatile Methods: Utilizes hand basting, machine basting, or tools like safety pins and clips.
Benefits of dry basting:
- Precision: Ensures pieces align correctly before permanent sewing.
- Flexibility: Allows for easy modifications without damaging fabric.
- Efficiency: Speeds up the sewing process by holding layers securely in place.
By mastering both wet and dry basting techniques, you can improve the outcome of your cooking and sewing projects effectively.
How To Baste Effectively
Basting ensures your sewing projects turn out precise and professional. Here’s how I make sure my basting is flawless every time.
Tools Needed
- Needle: Use a regular sewing needle for hand basting.
- Thread: Choose a contrasting color for visibility or matching for subtlety.
- Pins or Clips: Hold fabric layers securely.
- Thimble: Protects your fingers during hand basting.
- Measuring Tape: Ensure accurate placement of basting lines.
- Marking Chalk or Fabric Marker: Indicate where to bast.
Step-by-Step Process
- Prepare Your Fabric
Lay out the fabric layers, ensuring they are smooth and aligned. Use measuring tape to mark precise basting lines with chalk.

- Secure with Pins or Clips
Place pins perpendicular to the fabric edges or use fabric clips to hold layers together firmly.
- Thread Your Needle
Knot one end of the thread and thread your needle, keeping the thread long enough to complete the basting without tangling.
- Start Basting
Insert the needle through all fabric layers at the marked line. Pull the thread snug but not too tight to allow easy adjustments.
- Create Even Stitches
Maintain consistent spacing between stitches, typically about 1/4 inch apart, to ensure even support across the fabric.
- Finish Securely
Once you reach the end of the basting line, knot the thread securely on the backside to prevent unraveling. Trim any excess thread.
- Adjust as Needed
« What Is a Thimble and How to Use It? 8 Secrets Every Sewer Must Know
You Won’t Believe How Easy It Is to Sew a Flap Pocket for Jackets »
Check the alignment of the fabric. If adjustments are necessary, reposition the pins or clips before proceeding to the final stitching.
By following these steps, I ensure my basting is effective, providing a strong foundation for flawless sewing projects.
Common Basting Mistakes
Using the wrong thread type can compromise your basting. I avoid thick threads that bulk up the fabric and choose thin, durable threads to prevent breakage.
Creating uneven stitches undermines your project’s quality. I ensure consistent stitch length to maintain fabric alignment and stability.
Not securing stitches properly causes seams to unravel. I always finish with a knot or a few backstitches to lock the basting in place.

Over-basting complicates the final sewing process. I limit temporary stitches to what’s necessary, making them easier to remove later.
Ignoring fabric tension distorts your work. I adjust my machine’s tension settings to keep the fabric smooth and prevent puckering.
Forgetting to test on scrap fabric can lead to mistakes. I practice on extra pieces to refine my technique before working on the main project.
Conclusion
Basting has truly transformed the way I approach both cooking and sewing. Whether I’m ensuring a roast stays juicy or making sure my fabric layers align perfectly these simple techniques make a big difference. It’s amazing how a little extra effort can lead to such satisfying results. I encourage you to give basting a try in your next project and experience the benefits firsthand. Happy cooking and sewing!