

I’ve always loved the delicate touch a rolled hem brings to a garment. Whether you’re working with lightweight fabrics like chiffon or silk, mastering this technique can truly elevate your sewing projects. With just a sewing machine, you can achieve professional-looking finishes that make your creations stand out.
Materials Needed
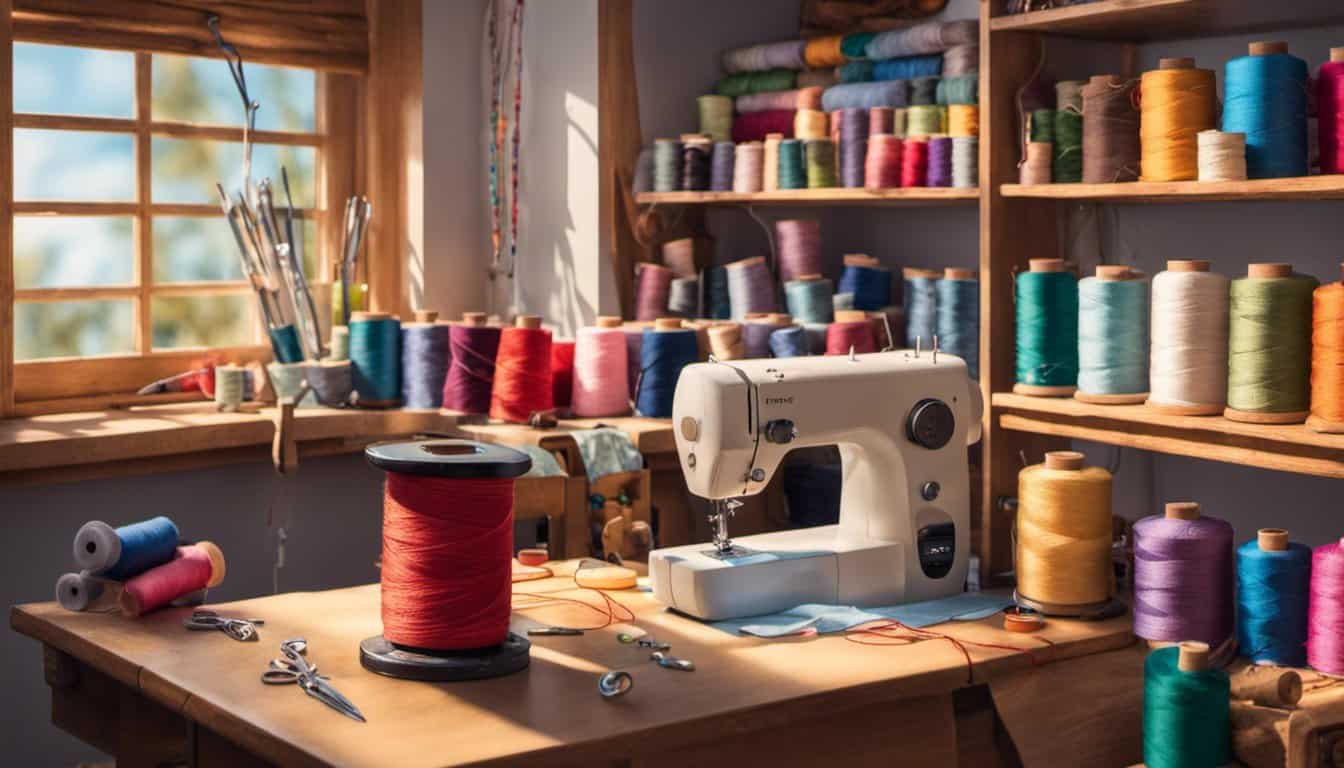
- Sewing machine: Provides precise stitching if it’s compatible with rolled hem attachments.
- Rolled hem presser foot: Ensures smooth hem rolling when it’s properly attached.
- Lightweight fabric: Such as chiffon or silk, ideal if the material drapes well.
- Matching thread: Blends seamlessly if the color complements the fabric.
- Pins or thread clips: Holds fabric layers securely when needed during sewing.
- Iron and ironing board: Presses the hem fold accurately if the fabric requires setting.
Preparing the Fabric
I start by selecting the right fabric for a rolled hem. Lightweight materials like chiffon, silk, or lightweight cotton work best because they hold the rolled edge neatly. Ensure the fabric is clean by washing it according to the care instructions, which prevents shrinkage after hemming.
Next, I press the fabric to eliminate any wrinkles. A smooth surface is crucial for an accurate hem. I use an iron set to the appropriate temperature for the fabric type, pressing the area where the hem will be sewn. If the fabric is difficult to press, I place a pressing cloth over it to protect the material.
After pressing, I measure the desired hem width, typically between 1/4 inch to 1/2 inch, depending on the project. Using tailor’s chalk or fabric markers, I mark the hem allowance evenly along the edge. Accurate measurements ensure a consistent and professional-looking rolled hem.
Finally, I attach the rolled hem presser foot to my sewing machine. This specialized foot guides the fabric as I sew, making the rolling process easier and more precise. With the presser foot in place, the fabric is ready for the rolled hem stitching.
Setting Up the Sewing Machine
First, ensure the machine is plugged into a stable outlet. Next, wind the bobbin with matching thread to your fabric. Then, place the bobbin into the bobbin case, securing it firmly. Adjust the thread tension to a medium setting, typically around 4, to accommodate lightweight fabrics. Select a straight stitch on the machine’s stitch selector. Set the stitch length to 2.5 mm for a balanced hem. Test the settings on a scrap piece of fabric, making adjustments if necessary. Finally, position the fabric under the presser foot, aligning the marked hem line for accurate stitching.


Step-by-Step Instructions
Follow these steps to create a perfect rolled hem using your sewing machine.
Folding the Hem
First, measure the desired hem width. For lightweight fabrics, a 1/4-inch fold works well. Fold the fabric edge up to the measured width, pressing it firmly with an iron to set the crease. Repeat the fold by rolling the edge under again, ensuring the raw edge is enclosed neatly.
Pinning the Hem
Next, secure the folded hem with pins or thread clips. Place pins perpendicular to the fold to prevent shifting while sewing. If using thread clips, space them about 1 inch apart for even support. Ensure the pins or clips are visible from the wrong side to avoid interference with the sewing process.


Sewing the Rolled Hem
Attach the rolled hem presser foot to your machine. Position the fabric under the foot, aligning the fold with the presser foot guide. Lower the presser foot and start sewing slowly, guiding the fabric evenly. Keep the tension consistent and maintain a steady speed to achieve a smooth, tight rolled hem. Once done, remove the pins or clips and press the hem with an iron for a crisp finish.
Tips and Techniques
Choose the Right Presser Foot
Using a rolled hem presser foot ensures precise folding. If your machine lacks this foot, consider investing in one compatible with your model to streamline the process.
Adjust Stitch Settings
Set your stitch length to 2.5 mm for a balanced finish. If the fabric is particularly lightweight, reducing the stitch length to 2 mm can prevent fabric distortion.
Press Carefully
After each fold, press the hem with a warm iron for 10 seconds. Applying consistent heat locks the fold, making sewing smoother and the hem more durable.
Sew Slowly
Moving the machine at a slower pace allows for better control. Slower sewing reduces the risk of skipped stitches and ensures an even rolled hem.

Use Quality Thread
Opt for a polyester thread that matches your fabric color. Quality thread minimizes breakage and maintains a clean appearance throughout the hem.
Test on Scrap Fabric
Before working on your project, test settings on a scrap piece. This step confirms tension and stitch length, ensuring the rolled hem appears uniform.
Secure the Fabric
Pin or use thread clips to hold the hem in place. Securing the fabric prevents shifting, resulting in a straight and professional-looking hem.
Maintain Your Machine
Regularly clean and oil your sewing machine. Proper maintenance ensures consistent performance, especially when handling delicate rolled hems.
Utilize Fabric Weights
For very lightweight fabrics, use fabric weights instead of pins. Weights keep the fabric steady without leaving pinholes, preserving the garment’s integrity.
Practice Consistent Folding
« How to Sew a Straight Stitch with a Machine: 7 Expert Tips for Perfect Results
What to Know Before Buying Your First Fabric: 7 Secrets Expert Crafters Swear By »
Fold the fabric evenly each time. Consistent folds lead to uniform hems, enhancing the overall appearance of your sewing project.
Lightly Trace the Hem Line
Use tailor’s chalk or a fabric marker to mark the hem line. Tracing ensures accurate placement and guides your sewing for a precise finish.
Control Fabric Movement
Guide the fabric gently without pulling. Controlling movement maintains the fold’s integrity and prevents the hem from becoming uneven.
Store Hemmed Edges Properly
After sewing, store the hemmed fabric flat or rolled to avoid creases. Proper storage keeps the rolled hem crisp and ready for the final garment.
Use a Stabilizer for Stretch Fabrics
For stretchy materials, apply a fabric stabilizer before folding. Stabilizers provide extra support, ensuring the hem maintains its shape after sewing.

Experiment with Different Fabrics
Practice rolled hems on various fabrics like chiffon, silk, and lightweight cotton. Experimenting broadens your skill set and adapts the technique to different materials.
Keep Your Workspace Organized
Maintain a tidy sewing area with all necessary tools within reach. Organization enhances efficiency and reduces the likelihood of mistakes during the hem process.
Refer to Machine Manual
Consult your sewing machine’s manual for specific rolled hem instructions. Manufacturer guidelines offer valuable insights tailored to your machine model.
Use Double Thread for Extra Strength
For high-wear areas, use a double thread to reinforce the rolled hem. Double stitching adds durability without compromising the hem’s appearance.
Maintain Even Tension
Ensure thread tension remains consistent throughout sewing. Even tension prevents puckering and maintains a smooth, professional hem.

Apply Gentle Pressure with the Foot Lever
Adjust the presser foot lever to apply light pressure. Gentle pressure accommodates delicate fabrics, allowing the rolled hem to form correctly.
Regularly Replace Needles
Use sharp, appropriate needles for your fabric type. Replacing dull needles avoids skipped stitches and ensures the rolled hem lays flat.
Incorporate a Seam Guide
Use a seam guide on your machine to maintain a straight hem line. A guide assists in keeping folds consistent, enhancing the overall quality of the hem.
Optimize Lighting
Work in a well-lit area to clearly see fabric folds and stitches. Good lighting reduces errors and improves precision when sewing rolled hems.
Take Breaks to Avoid Fatigue
Sewing for extended periods can lead to mistakes. Taking short breaks maintains focus and ensures each hem is executed with care.

Experiment with Hem Widths
Vary the hem width to match different garment styles. Experimentation allows customization, making each project unique and tailored to your design preferences.
Use a Walking Foot for Multiple Layers
When working with layered fabrics, use a walking foot to ensure even feeding. A walking foot prevents layers from shifting, maintaining consistent hem folds.
Incorporate Decorative Stitches
Add a decorative stitch to the rolled hem for a personalized touch. Decorative elements enhance the hem’s appearance and add visual interest to your project.
Keep Extra Supplies Handy
Have spare needles, threads, and presser feet readily available. Readiness for unexpected issues ensures continuous, uninterrupted sewing sessions.
Educate Yourself with Tutorials
Watch video tutorials or attend workshops on rolled hem techniques. Continuous learning sharpens your skills and introduces new methods for refined results.

Maintain Consistent Fabric Tension
Hold the fabric firmly without stretching. Consistent tension keeps the rolled hem even and prevents distortions during sewing.
Label Fabric Layers
Label each fold when working with multiple layers. Labeling aids in maintaining order, ensuring each layer is correctly aligned for a seamless hem.
Use a Humidifier for Delicate Fabrics
Maintain optimal humidity levels to prevent fabric from becoming too brittle or too damp. Proper humidity preserves fabric quality, facilitating smoother hem folding.
Organize Your Sewing Kit
Arrange tools like scissors, pins, and markers in an organized layout. An organized kit speeds up the sewing process and minimizes interruptions while creating rolled hems.
Practice Regularly
Frequent practice improves your rolled hem technique. Consistent sewing builds muscle memory, making the process quicker and more accurate over time.

Explore Alternative Folding Methods
Try different folding techniques to achieve various hem styles. Exploring alternatives enhances your versatility and allows for creative garment finishes.
Invest in a Light Pad
Use a light pad to see through fabric layers. A light pad assists in aligning folds accurately, ensuring a neat and precise rolled hem.
Keep a Steady Hand
Maintain a calm and steady hand while sewing. A steady approach reduces the likelihood of uneven folds and contributes to a professional-looking hem.
Utilize Rotary Cutters for Precision
Use rotary cutters to trim excess fabric accurately before folding. Precision cutting ensures clean edges, facilitating a flawless rolled hem.
Choose Appropriate Fabric Weights
Select fabric weights suitable for rolled hems. The right fabric weight ensures the hem holds its shape without adding bulk or stiffness.

Categorize Your Techniques
Organize your techniques into categories like folding, sewing, and pressing. Categorization helps streamline the process and enhances workflow efficiency.
Share Your Knowledge
Discuss rolled hem techniques with fellow sewing enthusiasts. Sharing insights fosters a community of learning and improvement, benefiting your sewing projects.
Stay Patient and Persistent
Embrace patience as you master rolled hems. Persistence leads to skill improvement, resulting in consistently high-quality sewing outcomes.
Common Mistakes to Avoid
Avoiding common errors ensures a professional-looking rolled hem. Here are key mistakes to watch out for:
- Incorrect Hem Width Measurement
Measuring the hem width inaccurately leads to uneven finishes. Ensure you use a ruler or measuring tape for precise measurements.
- Skipping Fabric Preparation
Neglecting to press the fabric before folding affects the hem’s appearance. Always press the hem to create a sharp crease.
- Using the Wrong Presser Foot
Attaching an incorrect presser foot complicates the rolling process. Use a rolled hem presser foot specifically designed for this task.
- Improper Stitch Settings
Incorrect stitch length or tension causes puckering or loose stitches. Set the stitch length to 2.5 mm and adjust tension to a medium setting.
- Sewing Too Quickly
Moving the fabric too fast results in uneven stitching. Sew slowly to maintain control and consistency.
- Inconsistent Folding
Uneven folds create an irregular hem. Fold the fabric symmetrically and secure it with pins or thread clips before sewing.

- Neglecting to Test on Scrap Fabric
Skipping test stitches can lead to unexpected issues. Always test settings on scrap fabric to verify accuracy before working on the final piece.
- Using Low-Quality Thread
Poor thread quality increases the risk of breakage and uneven stitches. Select high-quality, matching thread for durability and a clean finish.
By avoiding these mistakes, you enhance the quality of your rolled hems and achieve a polished, professional result every time.
Conclusion
Mastering the rolled hem has truly transformed my sewing projects. It’s amazing how a simple technique can make your work look so polished. I love how versatile it is, perfect for delicate fabrics that need that professional touch.
Keep practicing and don’t get discouraged by initial challenges. With time and patience you’ll achieve beautiful, consistent hems every time. Happy sewing!


