I remember the first time I tried to tackle a sewing project, feeling overwhelmed by all the patterns and instructions. But once I got the hang of reading a sewing pattern step-by-step, it became so much easier and enjoyable.
In this guide, I’ll walk you through the basics of understanding sewing patterns, from deciphering symbols and measurements to cutting your fabric with confidence. We’ll cover everything you need to know to take that first step (and many more) in your sewing journey.
Whether you’re a beginner or looking to refine your skills, these simple steps will help you bring your creative ideas to life. Let’s dive in and make sewing patterns work for you, turning your fabric and threads into something truly special.
Understanding the Pattern Envelope
When I first opened a sewing pattern envelope, I was amazed by the organized contents inside. Each element plays a crucial role in guiding the sewing process.
Identifying Pattern Information
Inside the envelope, you’ll find several key components:
- Pattern Pieces: Separate sheets for each part of the garment.
- Instruction Manual: Step-by-step directions for assembling the project.
- Fabric Labels: Indicate the type and amount of fabric needed.
- Notions List: Details required accessories like buttons or zippers.
- Size Chart: Guides for selecting the correct pattern size based on your measurements.
Locating Scale and Measurements
- Grainline Indication: Shows the fabric’s direction for proper alignment.
- Measurement Guide: Lists body measurements corresponding to each pattern size.
- Marker Rectangle: Depicts the scale used to print the pattern pieces, allowing you to verify accuracy.
- Drafting Notes: Provide adjustments for different fabric types or personal fit preferences.
Decoding Pattern Symbols
Understanding pattern symbols is crucial for successfully bringing your sewing project to life. These symbols guide every step of the process, ensuring accuracy and consistency.


Common Symbols Explained
Sewing patterns use a variety of symbols to convey instructions clearly. Here are some of the most common ones:
| Symbol | Meaning |
|---|---|
| ✂️ | Cut along this line |
| ➖ | Do not cut; mark only |
| 📍 | Placement for buttons, zippers, or pockets |
| 🔄 | Fold here |
| 🔗 | Attach or sew together |
| 🔺 | Increase or add fabric |
| 🔻 | Decrease or remove fabric |
| 📏 | Measure from this point |
Applying Symbols to Your Project
When working on your project, refer to these symbols to guide each step. For example, use the scissors symbol to know where to cut fabric precisely. The fold symbol indicates where to crease fabric for accurate alignment. Button placement icons help position hardware correctly, ensuring functionality and aesthetics. By consistently applying these symbols, you maintain the integrity of the pattern and achieve a professional finish.
Sizing and Adjustments
Ensuring the right size and making adjustments guarantees a perfect fit for your project.


Selecting the Right Size
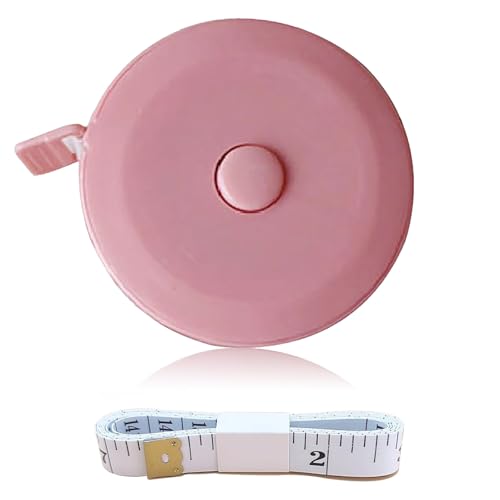
I start by taking accurate measurements, including bust, waist, hips, and sleeve length. Using a flexible measuring tape, I record each measurement in inches. Next, I consult the pattern’s size chart, comparing my measurements to those listed. If my measurements fall between sizes, I choose the larger size for added ease. For example, if my bust measures 34 inches and the pattern size 8 lists a bust of 33 inches while size 10 lists 35 inches, I select size 10. This approach helps accommodate fabric shrinkage and personal comfort.
Making Necessary Adjustments
I adjust the pattern to match my body shape by altering specific areas. If the waist measurement is too tight, I add width to the waistline by extending the side seams. For longer or shorter sleeves, I modify the sleeve length lines accordingly. Additionally, I adjust the ease by tightening or loosening seams to achieve the desired fit. For instance, to create a more fitted look, I reduce the ease in the hip area by pinching the fabric along the seams. These adjustments ensure the final garment fits seamlessly and reflects my personal style.
Preparing and Cutting the Fabric
Before I start cutting, I ensure the fabric is properly prepared for accurate sewing.
Laying Out the Fabric
I begin by pre-washing the fabric to prevent future shrinkage. Next, I iron it to remove any creases or wrinkles. Aligning the pattern pieces with the fabric’s grainline is crucial; I locate the grainline marked on the pattern and match it to the fabric’s straight edge. Using pattern weights instead of pins keeps the fabric from shifting. I follow the pattern instructions to position each piece correctly, ensuring optimal fabric usage and accurate cuts.
Cutting Techniques for Precision
For precise cutting, I use sharp fabric scissors or a rotary cutter. I follow the pattern lines carefully, cutting along solid lines and noting any dotted lines for additional instructions. Transferring notches or markers from the pattern to the fabric helps maintain alignment during sewing. I utilize a cutting mat and a clear ruler to keep lines straight and measurements accurate. Double-checking the placement of each pattern piece before cutting minimizes mistakes and ensures all pieces match perfectly.

Assembling Your Project
Once you’ve prepared all your materials and cut your fabric accurately, it’s time to bring your project together.
Following Step-by-Step Instructions
I begin by closely reading the instruction manual included with the pattern. Each step builds upon the previous one, ensuring a smooth assembly process. Aligning the notches and matching pattern pieces are crucial for accurate stitching. I follow the order of operations as outlined, from sewing seams to attaching trims. Precision at each stage prevents buildup of errors, leading to a well-constructed garment. If the pattern includes diagrams, I reference them frequently to visualize each step clearly.
Tips for Successful Assembly
Maintaining accuracy is key when assembling your project. I use pins or clips to secure fabric layers, preventing shifting during sewing. Pressing seams after each stitch makes them lie flat, enhancing the overall finish. I organize my work area by keeping pattern pieces and tools within reach, minimizing interruptions. Consistently checking measurements against the size chart ensures the fit remains true to your specifications. Additionally, I take breaks to stay focused, reducing the likelihood of mistakes and ensuring a professional-quality result.
Conclusion
Diving into sewing patterns was a game-changer for me and I hope it is for you too. Each step unlocks new possibilities and a deeper understanding of your craft. Embracing the process made creating something from scratch incredibly satisfying. I’m excited for you to start your own sewing journey and see where your creativity takes you!