

Sewing a square neckline can feel daunting, but it’s one of those techniques that opens up a world of stylish possibilities. I’ve always loved how a square neckline adds a touch of elegance and sophistication to any garment. Whether you’re working on a dress or a top, mastering this simple design element can elevate your sewing game.
Tools and Materials Needed
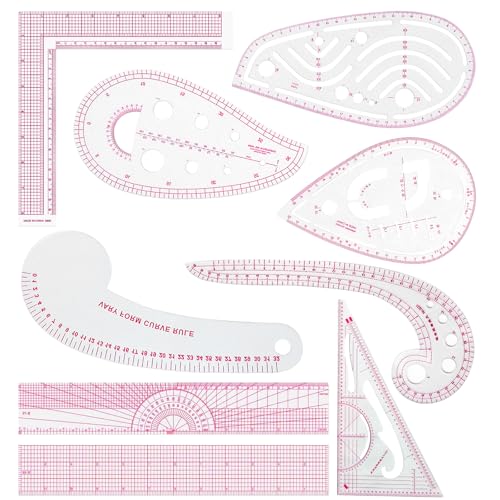
Sewing a square neckline requires specific tools and materials to achieve the desired result. Below are the essential supplies and recommended fabrics for this project.
Essential Sewing Supplies
- Sewing Machine: A reliable machine makes it easier to create precise stitches.
- Needles: Use sharp sewing needles for woven fabrics and universal needles for knits.
- Thread: Choose high-quality thread that matches or complements your fabric.
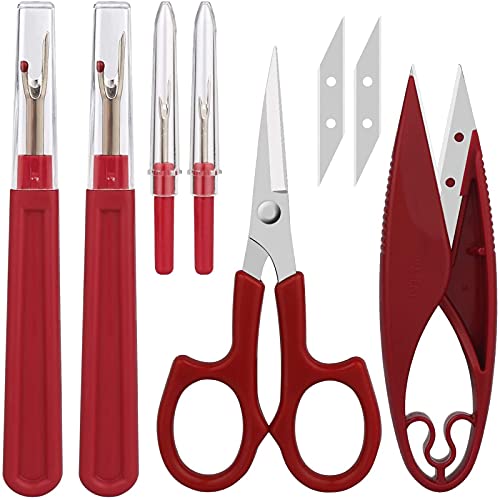
- Scissors: Fabric scissors for cutting fabric and smaller scissors for thread snipping.
- Tape Measure: This helps ensure accurate measurements for cutting and fitting.
- Pins: Use straight pins to securely hold fabric layers in place while sewing.
- Iron: A hot iron aids in pressing seams for a polished finish.
Recommended Fabrics
- Cotton: Lightweight cotton fabric is easy to work with and allows for a crisp finish.
- Linen: This breathable fabric is ideal for warm weather projects and drapes nicely.
- Rayon: Soft and fluid, rayon provides a lovely drape that enhances the square neckline look.
- Polyester Blends: These fabrics are durable and often wrinkle-resistant, making them practical choices.
Selecting the right supplies and fabrics contributes significantly to the success of your sewing project.
Preparing the Fabric
Preparing the fabric is a crucial step in sewing a square neckline. Proper preparation ensures that the final garment maintains its shape and looks polished. This process involves washing, ironing, and cutting your chosen materials.
Washing and Ironing
Washing fabric removes any dirt, residues, or chemicals from the manufacturing process. I prefer to wash fabrics following the care instructions listed on their labels, usually with cold water on a gentle cycle. After washing, I dry them naturally or on low heat to prevent any shrinkage.
Ironing the fabric is equally important. I iron it while it’s damp, which helps eliminate wrinkles more easily. For delicate fabrics, I adjust the iron’s settings accordingly to avoid damage. Always use a pressing cloth to protect softer materials.


Cutting the Pattern
Cutting the pattern accurately sets the foundation for a clean square neckline. I lay the fabric on a flat, spacious surface and use a rotary cutter and cutting mat for precision. After folding the fabric according to the pattern instructions, I pin it in place, ensuring all layers align correctly.
I carefully trace the pattern outlines with a fabric marker or chalk, taking care to mark all notches and markings. Using sharp fabric scissors, I cut along the lines, maintaining smooth, even edges.
These steps guarantee a well-prepared fabric, making the sewing process smoother and more efficient.


Constructing the Square Neckline
Constructing a square neckline requires precision and attention to detail. Follow these steps to ensure a polished, professional-looking finish.
Marking the Neckline
Marking the neckline accurately is crucial for achieving the desired square shape. Use a fabric marker or tailor’s chalk for visibility. First, take accurate measurements from the center front to indicate the points where the neckline will be. Next, mark the desired width and depth on both sides. Connect these points with a straight line to establish the square shape. After marking, double-check your lines for symmetry before cutting. This will ensure the neckline looks balanced on the finished garment.
Sewing Techniques for a Clean Finish
Using the right sewing techniques enhances the neckline’s appearance. Start by sewing the neckline with a straight stitch, ensuring your seam allowances are consistent—typically 1/4 inch is ideal. After stitching, trim the seam allowances to reduce bulk and clip into the corners of the neckline to allow for smooth turning. Turn the neckline right side out and press it gently to achieve a crisp edge. For an extra clean look, consider finishing the raw edges with a serger or a zigzag stitch. This helps avoid fraying and maintains the integrity of the neckline over time. Finally, top-stitch along the neckline for added detail and reinforcement.
Finishing Touches
The finishing touches are vital for a polished square neckline. These steps ensure the neckline looks clean and professional, enhancing the overall garment’s appeal.
Adding a Facing
Adding a facing to the neckline gives it structure and a clean finish. I cut the facing piece from the same fabric or a coordinating one, using the neckline’s shape as a guide. I typically add a quarter-inch seam allowance around the edges. After aligning the facing with the neckline’s edge, I pin it securely and sew along the neckline. I then trim the seam allowance to reduce bulk, grade the facing edges if necessary, and press the seam allowances towards the facing. Finally, I under-stitch the facing for added support, securing it in place and preventing it from rolling to the front.

Hemming the Neckline
Hemming the neckline adds a neat finish and can also help prevent fraying. I usually fold the raw edge under by about a quarter-inch, pressing it to create a crisp edge. I repeat the fold for the second hem for additional stability. Using a straight stitch, I sew close to the folded edge, making sure to maintain a consistent distance. This technique ensures that the hem lays flat and the neckline retains its shape. If I want extra durability and a polished appearance, I might top-stitch along the edge of the hem for a decorative finish.
Conclusion
Sewing a square neckline can truly elevate your wardrobe and boost your confidence in your sewing abilities. I hope you feel inspired to give it a try and embrace the challenge.
With the right tools and a little patience you’ll find that mastering this technique is not only rewarding but also opens the door to countless stylish creations.
So gather your materials and start sewing. I can’t wait to see the beautiful square necklines you create!


