There’s something so satisfying about keeping all my sewing tools neat and organized, and a fabric tool roll is the perfect way to do it. Not only is it practical, but it’s also a fun project that lets me add a personal touch to my sewing kit. Whether you’re a seasoned sewer or just starting out, making your own tool roll is a creative way to keep everything in one place.
Benefits Of Using A Fabric Tool Roll
Using a fabric tool roll for sewing tools keeps everything organized and accessible. Unlike loose storage options like bins or boxes, a roll has dedicated pockets or compartments for tools, reducing the time spent searching for items.
A tool roll protects sharp or fragile tools like scissors and seam rippers. The fabric can prevent scratches or damage during transport or storage, especially if it’s made from sturdy materials like canvas or denim.
Its portability makes a fabric tool roll convenient for classes, workshops, or sewing on the go. You can unfold it to see all your tools at once, then roll it back up for easy carrying.
Customizing a tool roll allows you to design one that fits your tools perfectly. Adding specific pocket sizes or closures, like snaps or buttons, ensures tools stay secure and organized just the way you need.
Materials And Tools Needed
Creating a fabric tool roll requires selecting the right materials and gathering specific tools. These ensure durability and functionality while keeping the process enjoyable.


Types Of Fabric To Consider
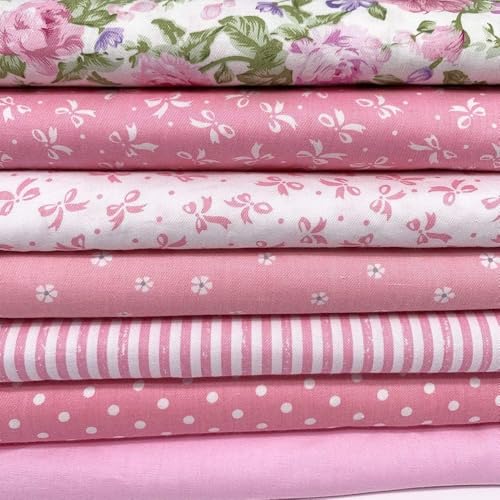
Choosing the right fabric impacts the durability and appearance of the tool roll. I recommend medium- to heavy-weight fabrics for structure and longevity.
- Cotton Canvas: Durable, easy to sew, and provides a clean finish. It’s ideal for applications requiring strength.
- Quilting Cotton: Adds design variety with its extensive pattern options, though interfacing or batting might be necessary for added stability.
- Denim: Durable and versatile, suitable for heavy-use tool rolls.
- Linen: Offers a crisp look and natural texture but may wrinkle without proper interfacing.
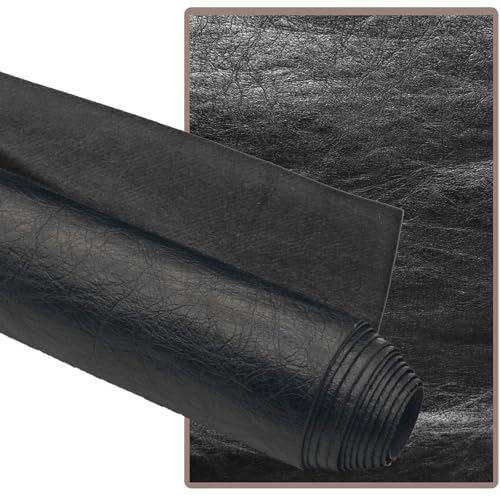
- Oilcloth or Waxed Canvas: Provides water resistance, ideal if the tool roll might encounter spills or moisture.
I avoid stretchy or slippery fabrics like silk, as they lack structure and complicate sewing.
Essential Tools For The Project
Accurate measurements and assembly require specific tools. These streamline the process and ensure professional results.


- Measuring Tools: A measuring tape or quilting ruler ensures precise cuts and pocket sizing.
- Fabric Scissors: Sharp scissors cut clean fabric edges, which affects the final look.
- Pins or Clips: Essential for holding layers of fabric or bias tape together during sewing.
- Sewing Machine: Necessary for strong, neat stitching. I prefer a straight stitch or zigzag for sewing edges.
- Iron and Ironing Board: Used for pressing seams and maintaining a polished appearance.
- Marking Tools: Fabric-safe pens or chalk allow accurate marking for pocket placements.
- Thread: I match the thread strength and color to the fabric for both aesthetics and durability.
I keep these essentials close when making a fabric tool roll to simplify the process and avoid interruptions.
Step-By-Step Guide To Making A Fabric Tool Roll
Crafting a fabric tool roll ensures a tidy and stylish way to store sewing tools. Follow these steps to create one that fits your specific needs.
Measuring And Cutting The Fabric
Accurately mark and cut fabric pieces for a precise fit.
I start by determining the dimensions of the roll based on my tools’ size and quantity. The main piece of fabric forms the roll’s exterior, while a second piece creates the interior. For a standard size, I cut the fabric into a rectangle measuring 18 inches by 12 inches. Next, I cut smaller rectangles for the pockets, typically 18 inches by 6 inches, ensuring they accommodate the longest tools.
Creating Pockets For Tools
Design properly sized pockets to hold tools securely.

I fold the pocket fabric piece in half lengthwise, with the wrong sides together, and press it flat. This creates a clean, folded edge. Using chalk or a fabric marker, I measure and mark vertical lines on the pocket piece, spacing them based on my tools. For example, I leave wider sections for scissors and slimmer ones for pens or seam rippers. I pin the pocket piece onto the interior fabric to keep it in place.
Assembling And Stitching The Roll
Join all components neatly for a functional roll.
With the pocket piece pinned, I sew along the marked lines to create individual compartments. Then, I place the exterior and interior fabric pieces right sides together, aligning edges. Next, I sew around the edges with a 1/4-inch seam allowance, leaving a small opening for turning. After turning it right side out, I press it flat and topstitch around the edges for durability.
Adding Closures And Finishing Touches
Secure tools with closures and add personalized elements.
To keep the roll closed, I attach a ribbon, button, or snap closures to one side. If using a ribbon, I sew it securely to the exterior fabric near the center. For a decorative touch, I sometimes embroider my initials or add contrasting fabric binding. After ensuring all seams are reinforced, the tool roll is ready for use.
Tips For Personalizing Your Fabric Tool Roll
« 10 Genius Tips for Sewing a Fabric Wall Pocket Organizer That Transforms Any Space
How to Make a DIY Bra: A Beginner’s Guide to Perfect Fit, Comfort, and Style »
Personalizing a fabric tool roll makes it unique and better suited to your preferences. Incorporating specific designs or elements enhances both its functionality and aesthetic appeal.
Choosing Custom Designs And Patterns
Selecting the right fabric design sets the tone for your tool roll. I often look for fabrics that reflect my style, like floral prints, geometric patterns, or sewing-themed motifs. Pairing contrasting colors or textures, such as a smooth exterior with a textured pocket lining, adds visual interest. Custom quilting designs or pieced fabric panels create one-of-a-kind surfaces while boosting durability.
Adding Labels Or Decorative Elements
Integrating decorative elements into the design elevates its appearance and usability. I like to use embroidery for monograms or tool outlines, making each pocket identifiable. Iron-on patches, printed labels, or even hand-applied fabric paint can help distinguish sections. Sewn-on buttons, lace trims, or colorful bias bindings provide decorative accents while maintaining practicality.
Common Mistakes To Avoid
Avoiding common mistakes makes creating a functional and durable fabric tool roll much easier. Proper planning and careful execution are key.
- Skipping Fabric Preparation
Always prewash and iron your fabric unless it’s pretreated, such as waxed canvas. Unwashed fabric can shrink or distort after sewing, affecting the final dimensions of your tool roll.

- Wrong Fabric Choices
Stick to medium- or heavy-weight fabrics like cotton canvas or denim for durability. Lightweight or stretchy fabrics may not provide enough support for your tools and are harder to work with.
- Incorrect Measurements
Double-check dimensions before cutting. Uneven measurements can lead to poorly sized pockets, making your tool roll less functional. Use a ruler or measuring tape for accuracy.
- Overcrowded Pockets
Ensure pocket spacing matches your tools. Bulging pockets from overcrowding may cause wear and tear on the fabric seams over time.
- Neglecting Reinforcement
Reinforce stress points, like the tops of pocket seams, with backstitching. Weak stitching can unravel after repeated use, reducing the roll’s longevity.
- Wrong Closure Placement
Position closure ribbons, snaps, or buttons after assembling the roll and checking foldability. Misaligned closures will make securing the roll awkward and ineffective.

- Skipping Edge Finishing
Finish raw edges with a serger or zigzag stitch. Fraying edges can ruin the aesthetic and reduce the tool roll’s durability.
- Overlooking Personalization Details
Plan embroidery or decorative elements before assembly. Adding designs after sewing may distort the fabric or interfere with pockets and closures.
Carefully addressing these common issues ensures your fabric tool roll is long-lasting, practical, and visually appealing.
Conclusion
Making a fabric tool roll is such a rewarding project. Not only does it keep your sewing tools organized and protected, but it also adds a personal touch to your crafting setup. Plus, it’s a great way to show off your creativity and sewing skills.
Whether you’re a beginner or an experienced sewer, this project is a fun and practical way to stay organized. With the right materials, a bit of planning, and a dash of personalization, you’ll have a tool roll that’s as functional as it is stylish.