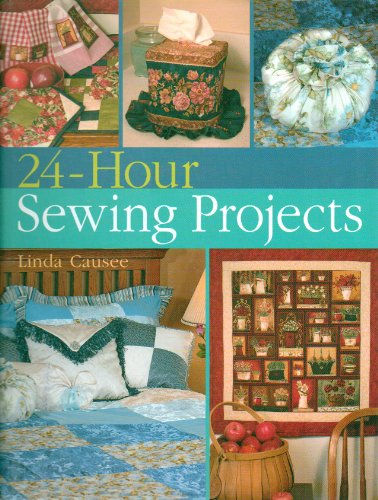
Ever found yourself scrambling to find a needle or the perfect thread in the middle of a sewing project? A DIY sewing box might be just what you need. Creating your own sewing box not only keeps your supplies organized but also adds a personal touch to your crafting space.
Imagine reaching for a beautifully crafted box, knowing exactly where everything is. Whether you’re a seasoned seamstress or a beginner, putting together a customized sewing box can be a fun and rewarding project. Plus, it’s a great way to repurpose items you already have at home. Let’s dive into how you can create a sewing box that’s both functional and uniquely yours.
Choosing the Right Materials for Your DIY Sewing Box
Selecting the right materials ensures both functionality and durability. Consider how often you’ll use the box and the types of items you’ll store to make the best choices.
Selecting Durable Fabric
Choose durable fabric for your sewing box lining and accessories. Cotton canvas and denim provide excellent strength. For a touch of elegance, look at twill or upholstery fabric. If you prefer something colorful, explore patterned quilting fabric, which balances durability with vibrant designs.
Opting for Sturdy Boxes or Containers
Pick sturdy boxes or containers that can withstand daily use. Wooden boxes offer aesthetic appeal and longevity. Plastic bins provide lightweight, versatile storage solutions. Metal tins add a vintage feel and robust protection. Ensure the containers fit neatly into your designated space and have secure closures to keep contents safe.
These well-selected materials will help create a sewing box that’s both practical and personalized.
Organizing Your Sewing Tools
Keeping your sewing tools organized ensures efficiency and reduces clutter. A well-organized sewing box is key to a stress-free crafting experience.
Dividers and Compartments
Using dividers and compartments makes it easy to store various tools neatly. You can create compartments out of sturdy cardboard or buy adjustable plastic inserts. Ensure that smaller items like needles, pins, and buttons have separate spaces. Larger tools like scissors and measuring tapes should have dedicated sections. Compartments keep everything visible and accessible.
Labeling for Ease of Use
Labeling each compartment simplifies finding your tools quickly. Use adhesive labels or a label maker for clear, legible tags. For instance, label sections for “Needles,” “Threads,” and “Buttons.” This system helps maintain order and prevents misplacing items. Consistent labeling can streamline your sewing process and enhance overall organization.
Customization Ideas for Your Sewing Box
Express your creativity by customizing your sewing box, ensuring it reflects your unique style while staying practical.
Creative Designs and Patterns
Incorporate fabric with creative designs and patterns to stand out. Use bold prints or intricate embroidery to cover your box. Select a floral fabric for a vintage look, or opt for geometric patterns for a modern touch. Attach fabric strips or ribbons to the edges for a finished look.
Adding Personal Touches
Personalize your sewing box with these ideas. Add your initials or name using fabric paint, embroidery, or iron-on patches. Attach decorative buttons, lace, or trim for added flair. Incorporate small framed photos or inspirational quotes inside the lid. For practicality, add a pin cushion or small pockets to hold frequently used tools.
Maintenance and Care Tips
Ensuring your DIY sewing box remains clean and functional enhances your crafting experience and prolongs the life of your tools.
Cleaning and Storage Suggestions
Keep your sewing box in a cool, dry place to prevent moisture damage. Wipe down the exterior of your box with a damp cloth every few weeks, especially if it’s made of wood or metal. Use a small brush to remove dust from seams within the box. Organize your tools after each session to maintain order and prevent misplacement. Soft fabric liners or pouches can protect delicate items like scissors and needles from scratches.

Regular Check-ups for Tools
Inspect your sewing tools monthly. Check scissors for sharpness, replace dull blades, and oil moving parts if needed. Assess needles for rust or bending—discard any compromised ones. Examine spool pins and thread holders to ensure they’re sturdy and free of debris. For electronic devices like handheld sewing machines, test them periodically to ensure they’re in good working condition and update their software if applicable. Keeping your tools in prime condition ensures an efficient and enjoyable sewing experience.
Conclusion
Creating your own DIY sewing box is a fun and rewarding project that lets you personalize your sewing experience. From selecting the right materials and containers to adding creative touches and ensuring proper maintenance, every step offers an opportunity to make something uniquely yours. By keeping your tools organized and well-maintained, you’ll enjoy a more efficient and enjoyable sewing journey. So grab your supplies and get started on crafting a sewing box that’s both practical and a reflection of your creativity!


